1] Go to ‘Alert Manager’ responsibility and navigate Alert > Define.
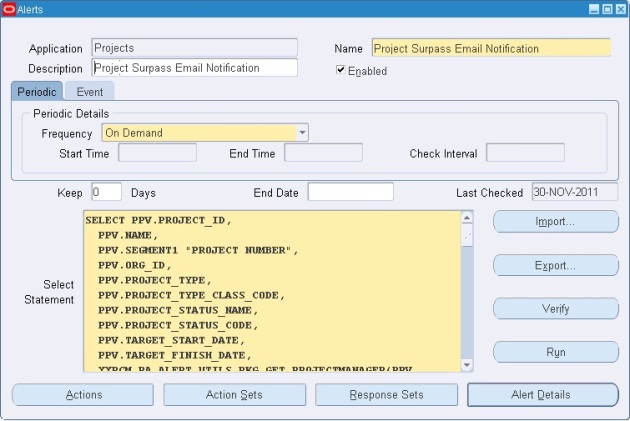
- Enter the name of the application that will own the alert
- Enter a suitable Name of the alert (up to 50 characters), and give it a meaningful description (up to 240 characters).
- Select a frequency for your periodic alert. You can choose from nine frequency options:
- On Demand
- On Day of the Month
- On Day of the Week
- Every N Calendar Days
- Every Day
- Every Other Day
- Every N Business Days
- Every Business Day
- Every Other Business Day
- Choose ‘On Demand’ frequency when you are developing a periodic alert so that you can test your alert at any time you want. When you will sure that the alert is working fine, then you can change the frequency as per business need.
- Depending on the frequency you choose in the previous step, the Start Time and End Time fields become enabled. You may also specify the number of times within a 24-hour period that Oracle Alert checks your alert.
- Specify a value in the Keep _ Days field to indicate the number of days of exceptions, actions, and response actions history you want to keep for this alert.
- Specify a value in the End Date field if you want to disable your alert by a certain date.
- Enter a SQL Select statement that retrieves all the data your alert needs to perform the actions you plan to define.
Note:
- Your periodic alert Select statement must include an INTO clause that contains one output for each column selected by your Select statement.
- Identify any inputs with a colon before the name, for example, :INPUT_NAME.
- Identify any outputs with an ampersand (&) before the name, for example, &OUTPUT_NAME.
- Do not use set operators in your Select statement.
- You can use PL/SQL functions in your Select statement to fetch complex business logic.
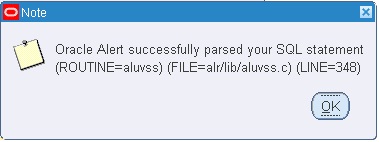
Click on the ‘Verify’ button to check the select statement is correct.
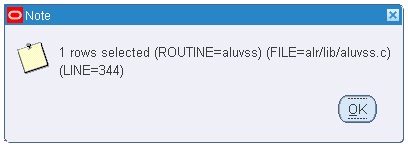
Click on the ‘Run’ button to execute the Select statement.
Once you are satisfied with the SQL statement, save your work.
2] You can view all the input and output column details in ‘Alert Details’ Tab. The Alert Details window includes information such as which Application installations you want the alert to run against, what default values you want your inputs variables to use, and what additional characteristics you want your output variables to have.
3] After you define your alert you need to create the actions you want your alert to perform. For that click on the ‘Actions’ tab.
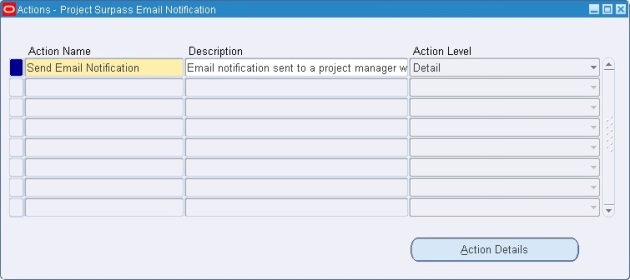
- Enter a name (up to 80 characters) and description (up to 240 characters) for your alert action.
- Select a level for your action: Detail, Summary, or No Exception.
- Detail action: performs once for each individual exception found
- Summary action: performs once for all exceptions found
- No exception action: performs when no exceptions are found.
4] Click on ‘Action Details’ tab to display the Action Details window.
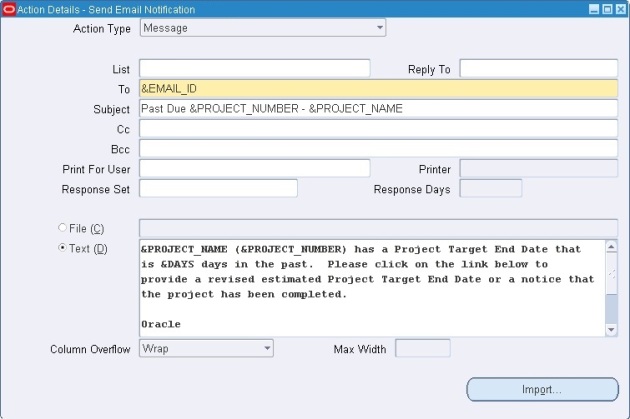
- Select the Action Type field as ‘Message’ if you want to send emails. Other action types are: Concurrent Program, Operating System Script and SQL Script.
- Specify the electronic mail IDs of the recipients you want to send your message to in the To field.
- If you list more than one recipient in any of these recipient fields, separate each recipient by a space, or a comma, or a combination of the two.
- You can enter as many recipients as you want, up to 240 characters.
- You can also enter alert outputs or response variables in any of the alert detail fields. Oracle Alert automatically substitutes the associated output value when checking the alert or the associated response variable value when reading the response.
- Save your changes.
5] Click on ‘Action Sets’ tab in the main Alert Window.
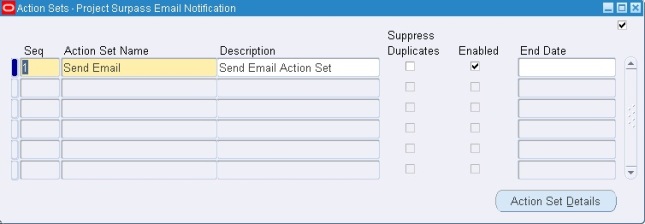
- Once you create your alert actions, you must include them in an enabled action set for Oracle Alert to perform during an alert check. An action set can include an unlimited number of actions and any combination of actions.
- Enter a Sequence number that lets you order the execution of action sets during an alert check.
- Give any suitable name and description.
- Check Suppress Duplicates if you want Oracle Alert to suppress the actions in this action set if the exception found is a duplicate that occurred during the last alert check.
6] Click on ‘Action Set Details’ tab.

- Go to ‘Members’ tab.
- Find and attach the action that is created in Step 3.
- Save the changes.
7] Since it is an ‘On Demand’ periodic alert, we can run the alert at any time we want. For that go to Request > Check and enter the alert details. Then click on ‘Submit Request’.
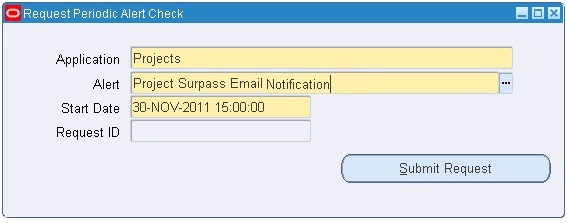
- This will fire one concurrent program which you can view by going through the navigation: Request > View
- View the Log and Output files of the concurrent program to find that the alert is fired successfully.
Done…check your mailbox and you should get emails that are sent from Oracle Alerts.
Tags:-
ALERT MANAGER, ORACLE ALERTS, PERIODIC ALERT

No comments:
Post a Comment